


1. Overview
- CV Intranet is a SharePoint SPFx solution that transforms Microsoft 365 into a fully branded, employee-first digital workplace — bringing company news, departments, people, policies, events, and quick links together in a single modern landing experience. It is designed to replace fragmented communication channels and legacy intranet portals with a unified hub built natively on SharePoint Online.
- This guide walks through the installation tracks required for a complete deployment:
- SharePoint App Deployment — adding the CV Intranet web parts to your tenant and target site.
- Web Part Configuration — placing and configuring the CV Intranet experience on your intranet landing page.
- Marketplace Subscription — activating a paid plan so the solution runs without restrictions.
2. Prerequisites
- Before starting the deployment, confirm the following are in place:
- SharePoint environment: Microsoft 365 tenant with SharePoint Online and App Catalog enabled.
- App Catalog site: A tenant-level or site-collection App Catalog must be created and accessible.
- Admin access: Global Administrator or SharePoint Administrator rights are required for tenant-level deployment and for approving API permissions.
- Target site: A modern communication site (recommended) designated as the intranet landing page for your organization.
- Content readiness: Basic assets such as company logo, banner images, department list, and initial announcements prepared for first-run configuration.
- Billing account: A valid payment method on the Microsoft account used to activate the marketplace subscription.
3. Access CV Intranet on Microsoft Marketplace
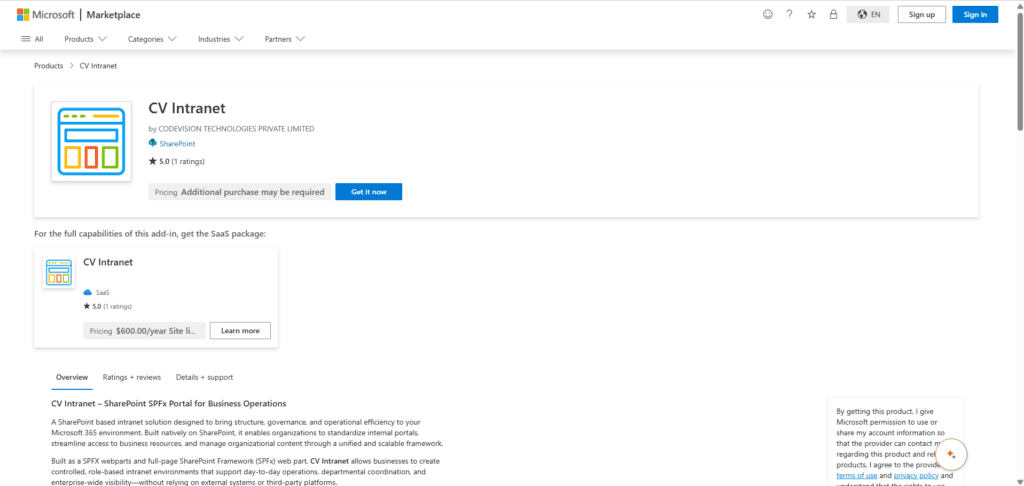
- Before starting the deployment, you can directly access the solution from Microsoft
- Marketplace: https://marketplace.microsoft.com/en-us/product/WA200010747
- From here, click “Get it now” to initiate the app acquisition process.

4. Part 1 — Deploy the CV Intranet SharePoint App
- Follow these steps in order. Each step assumes the previous step completed successfully.
Step 1: Deploy the Solution (Admin)
- Go to Microsoft Marketplace
- Search CV Helpdesk under SharePoint Products or open the link below for direct access.
- https://marketplace.microsoft.com/en-us/product/WA200012371?tab=overview
- Click on Get it now
- Confirm your details to continue to click get it now
- Wait for process & it will take to SharePoint store
- Click on “Add to Apps site” button under SharePoint store
- One prompt will open for “Confirm data access“
- Click Only enable this app under App availability & click Add button
Step 2: Grant API Access
- Once done another prompt box will open for “Approve access so this app works as designed“
- Go to API access page it will redirect to sharepoint admin center for grant API access
- Select API request under pending requests & click approve button from top menu button
- Verify details & click approve button
- Once approve go to previous tab where we have added app.
- You can check message “This app has already been added to the Apps site.” under Add button as well as “The app has been added.” success message at top header.
- Click on manage apps page from message section. It will redirect to Tenant level app catalog where you can see added app under Apps for SharePoint section.
Step 3: Add the App to a SharePoint Site
- Note: Skip this step if you selected “Enable this app and add it to all sites” in the previous step.
- Navigate to the target SharePoint site collection (for example, your company intranet or communication site).
- Open Site Contents from the site settings menu.
- Click + New → App in the top ribbon.
- Under Apps You Can Add, select CV Intranet and click Add.
- Go to site content & wait for branding installation process.
- Custom header menu navigation will be added at top section
5. Part 2 — Configure the CV Intranet Web Part
- Once the app is installed, add the web part to a SharePoint page so employees can access company news, departments, people, and quick links from a single landing experience.
Step 1: Create the Intranet Landing Page
- From the target site, go to Site Contents → New → Page.
- Select a blank page template and give it a clear title such as “Home”, “Company Intranet”, or “Employee Hub”.
- Add a appropriate section so the intranet dashboard renders with enough horizontal space for banners, announcements, employee directories, and quick links.
- Optionally set this page as the site’s home page (Site Settings → Make homepage) so users land directly on the CV Intranet experience.
Step 2: Add the Web Part
- Click the + icon inside the section to open the web-part picker.
- Search for “CV” or below listed webpart name and click the result. Wait a few seconds for the web part to initialize.
- List of webparts available:-
- CV Banner
- CV Announcements
- CV Employee Corner
- CV Employee Directory
- CV Intranet Holidays
- CV Kudos
- CV Policy Procedure
- CV Quick Links
- CV Vendor Contacts
- CV World Clock
Step 3: Configure the each webpart settings or theme settings from webpart side panel.
Step 4: Test and Publish
- Click Publish in the top-right of the page to make it available to all users.
- Optionally add the page to the site’s top navigation and hub navigation for easy discovery across your SharePoint hub.
6. Part 3 — Purchase the CV Intranet Subscription
- To use CV Intranet SPFX webpart without any interruptions, please purchase a CV Intranet
subscription from Microsoft Marketplace.
Step 1: Access CV Intranet on Marketplace
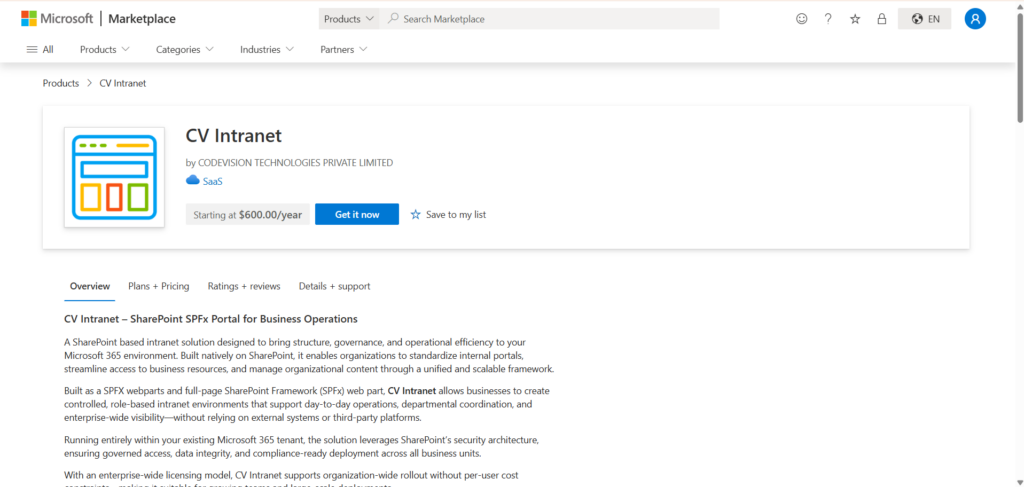
- Go to Microsoft Marketplace
- Search CV Intranet under SaaS Products or open the link below for direct access.
- https://marketplace.microsoft.com/en-us/product/codevisiontechnologiesprivatelimited1613132641660.cvintranet?tab=Overview
- Click on “Get it now”

Step 2: Select Billing Country
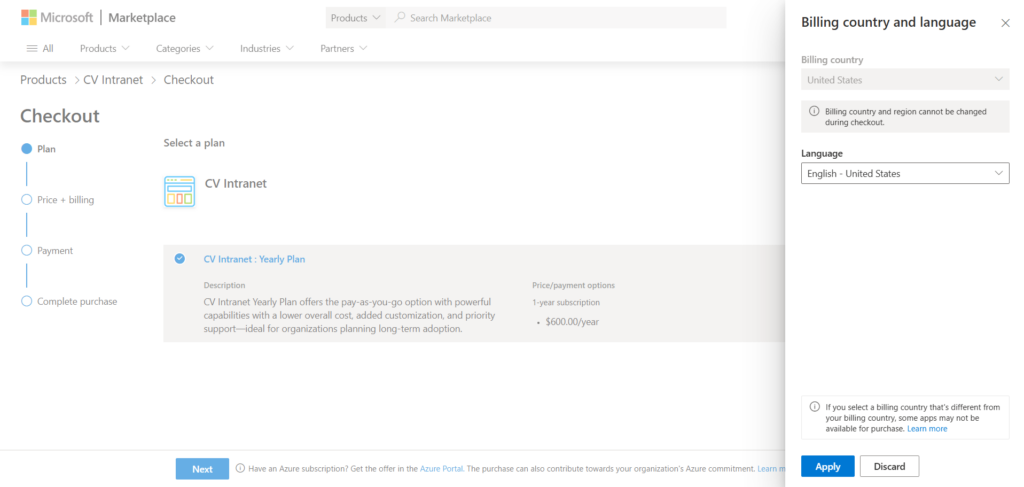
- You will be redirected to the purchase page
- Select your Billing Country/Region from the dropdown
- Note: This cannot be changed later
- Accept the terms and click Next
Step 3: Choose Subscription Plan
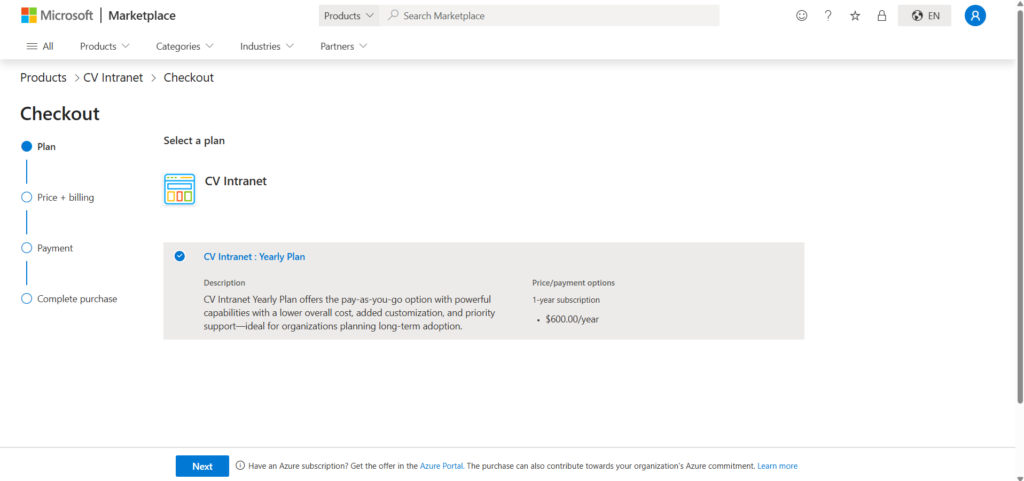
- Yearly Plan – Selected by Default
- Click Next

Step 4: Review Pricing & Billing
- Verify pricing details and billing summary
- Click Next

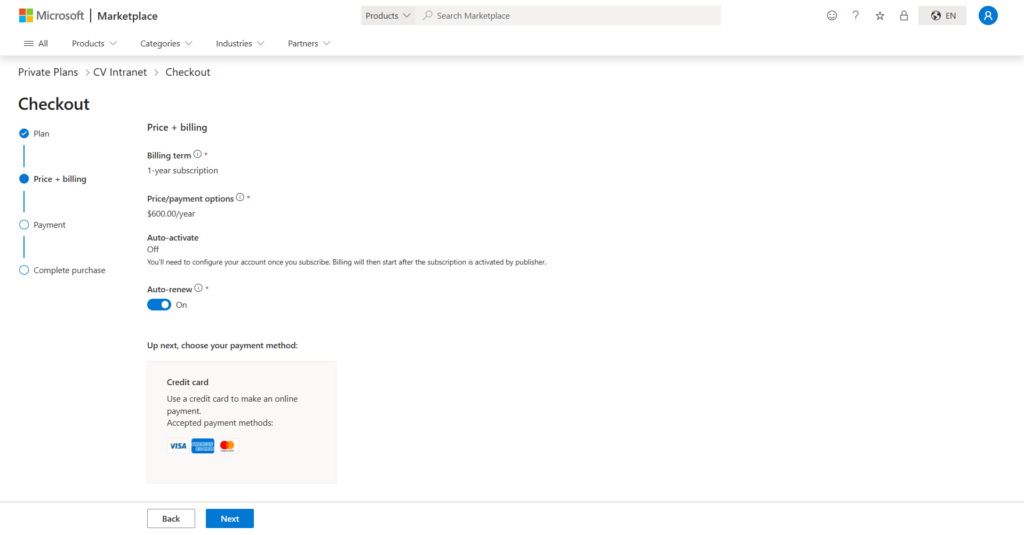
Step 5: Add Payment Details
- Enter payment information
- Click Save

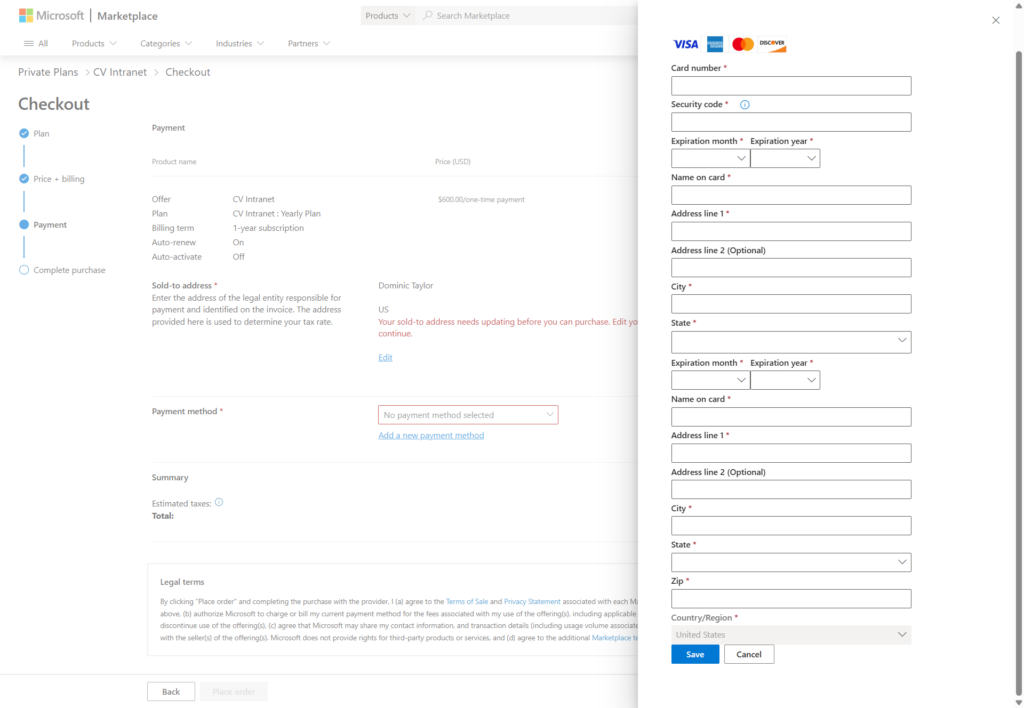
Step 6: Complete Purchase
- Click Place Order
- After successful payment, you will be redirect to our landing page to activate
your subscription. Once subscription activated you will be seeing a confirmation
message - You can now access full CV Intranet features without any interruptions
7. Part 4 — Upgrade the CV Intranet SharePoint App
- Open the tenant or site-collection App Catalog using one of the following URLs:
- https://[yourtenant].sharepoint.com/sites/appcatalog/_layouts/15/tenantAppCatalog.aspx/manageApps
- Or
- https://[yourtenant].sharepoint.com/sites/[yoursitecollection]/AppCatalog/Forms/AllItems.aspx
- Go to classic experience (skip this if already open classic experience)
- Search “CV Intranet” & Select from grid
- Click on files from top header menu.

- Click Upgrade Store App options from App (If any upgrade version available it will enable)
- Wait for upgrading process.
- Once done deploy option will be visible. Review any pending additional API permission approval. (Refer step 2 from Part 1 — Deploy the CV Intranet SharePoint App )
- Click on deploy. It will redirect back to app catalog once process done
- Go to site page where webpart installed & check upgraded feature.

8. Support
- For technical assistance, feature requests, or questions about pricing and licensing, contact Codevision Technologies Private Limited through one of the following channels:
- Email: support@thecodevision.com
- Web: https://thecodevision.com/
- Marketplace listing: search for “CV Intranet” on Microsoft Marketplace and use the
Contact Publisher link.