


1. Overview
- CV Renew 365 is a SharePoint-based subscription and AMC (Annual Maintenance Contract) renewal management solution that helps organizations track recurring contracts, automate renewal communications, and prevent revenue loss from missed renewals. It centralizes subscription data, renewal cycles, and client communications into a single workspace built natively on Microsoft 365.
- This guide walks through the installation tracks required for a complete deployment:
- SharePoint App Deployment — adding the CV Renew 365 web part to your tenant and target site.
- Web Part Configuration — placing and configuring the CV Renew 365 experience on a
- Marketplace Subscription — activating a paid plan so the solution runs without restrictions
2. Prerequisites
- Before starting the deployment, confirm the following are in place:
- SharePoint environment: Microsoft 365 tenant with SharePoint Online and App Catalog enabled.
- App Catalog site: A tenant-level or site-collection App Catalog must be created and accessible.
- Admin access: Global Administrator or SharePoint Administrator rights are required for tenant-level deployment and for approving API permissions.
- Target site: A modern SharePoint site (communication or team site) designated to host the subscription and renewal management experience.
- Billing account: A valid payment method on the Microsoft account used to activate the Marketplace subscription.
3. Part 1 — Deploy the CV Renew 365 SharePoint App
- Follow these steps in order. Each step assumes the previous step completed successfully.
Step 1: Deploy the Solution (Admin)
- Go to Microsoft Marketplace
- Search CV Renew 365 under SharePoint Products or open the link below for direct access.
- https://marketplace.microsoft.com/en-us/product/WA200010900?tab=overview
- Click on Get it now
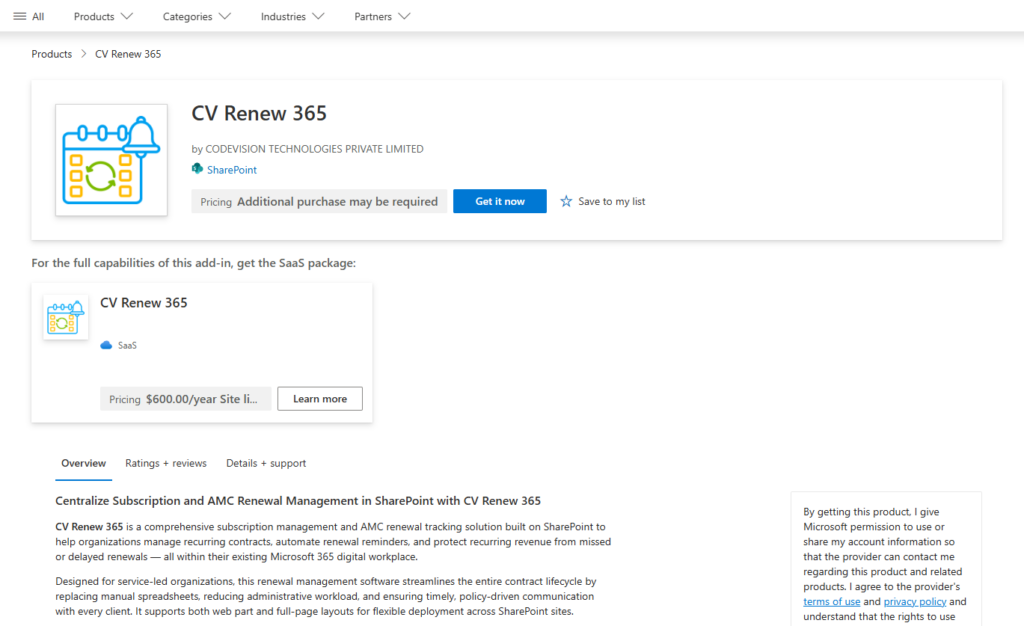
- Confirm your details to continue to click get it now
- Wait for process & it will take to SharePoint store
- Click on “Add to Apps site” button under SharePoint store
- One prompt will open for “Confirm data access“
- Click Only enable this app under App availability & click Add button
Step 2: Grant API Access
- Once done another prompt box will open for “Approve access so this app works as designed“
- Go to API access page it will redirect to SharePoint admin center for grant API access
- Select API request under pending requests & click approve button from top menu button
- Verify details & click approve button
- Once approve go to previous tab where we have added app.
- You can check message “This app has already been added to the Apps site.” under Add button as well as “The app has been added.” success message at top header.
- Click on manage apps page from message section. It will redirect to Tenant level app catalog where you can see added app under Apps for SharePoint section.
Step 3: Add the App to a SharePoint Site
- Note: Skip this step if you selected “Enable this app and add it to all sites” in the previous step.
- Navigate to the target SharePoint site collection.
- Open Site Contents from the site settings menu.
- Click + New → App in the top ribbon.
- Under Apps You Can Add, select CV Renew 365 and click Add.
- After the app is successfully added, it will be displayed in the side content.
4. Part 2 — Configure the CV Renew 365 Web Part
- Once the app is installed, add the web part to a SharePoint page so account managers and administrators can manage subscriptions, renewals, and reminders from a single experience.
Step 1: Create the Renewal Management Page
- From the target site, go to Site Contents → New → Page.
- Select a blank page template and give it a clear title such as “Renewal Tracker”, “Subscription & AMC Manager”, or “Client Renewals”.
- Add a full-width section (recommended) so the dashboard, subscriber list, and forecast chart render with adequate horizontal space.
- Optionally pin this page to the site’s top navigation so users can access renewal management directly from the site header.
Step 2: Add the Web Part
- Click the + icon inside the section to open the web-part picker.
- Search for “CV Renew 365” and select the result. Wait a few seconds for the web part to initialize.
- The web part loads with three primary tabs available out of the box:
- Dashboard – renewal forecast chart, summary tiles, and upcoming/overduerenewal lists.
- Subscribers – master list of all subscriptions with search, filters, and renewal history.
- Settings – email templates, default templates, reminder workflows, and general configuration.
Step 3: Add Configuration Setup from settings
- Click settings tab from navigation menu.
- Configure the following on first use:
- Header settings – set the header title, header icon, and visibility of header options.
- Default webpart display – enable full-screen mode if you want the experience to expand on page load.
- Tabs taxonomy – reorder or hide the Dashboard, Subscribers, and Settings tabs based on your team’s workflow.
- List view configuration – control column order and visibility for Subscribers, Upcoming Renewals, and Overdue Accounts.
- Add Subscription form – configure which fields are visible and which are mandatory during subscription intake.
Step 4: Test and Publish
- Click Publish in the top-right of the page to make it available to all users.
- Optionally add the page to the site’s top navigation and any hub navigation for easy discovery across your SharePoint environment.
5. Part 3 — Purchase the CV Renew 365 Subscription
- To unlock the full feature set of CV Renew 365 and remove free-version limitations, activate a paid subscription through Microsoft Marketplace.
Step 1: Open the Product on Marketplace
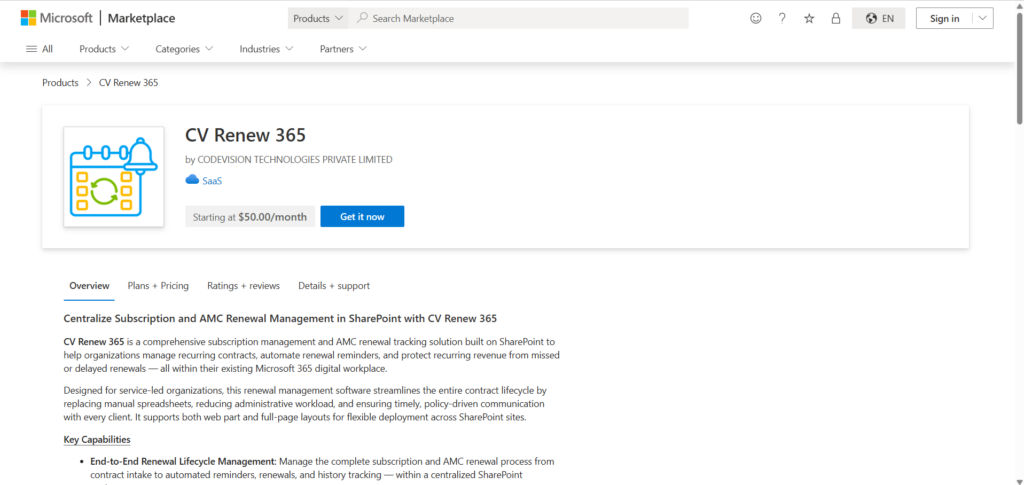
- Go to Microsoft Marketplace
- search for “CV Renew 365” under SaaS products, open the link below for direct access.
- https://marketplace.microsoft.com/en-us/product/saas/codevisiontechnologiesprivatelimited1613132641660.cvrenew?tab=Overview
- Click Get it now.

Step 2: Select Billing Country
- You will be redirected to the Microsoft Marketplace checkout.
- Choose your Billing Country/Region from the dropdown. This must match your organization’s registered address.
Step 3: Choose a Subscription Plan
- CV Renew 365 offers the following plan tiers (pricing is billed per tenant, not per user):
- Select Yearly Plan : Choose the Yearly billing option to secure the annual discounted rate, recommended for enterprise rollouts and continuous production use.
- Proceed to Next Step: Verify your selection and click Next to continue the setup process.
Step 4: Review Pricing & Billing Details
- Confirm the plan name, recurring price, auto-renew setting, and estimated taxes.
- Leave Auto-renew on unless finance has asked you to manage renewals manually.
- Click Next to continue to payment.
Step 5: Add Payment Details
- Enter a valid credit card or select an existing payment method saved to your Microsoft billing account.
- Provide the sold-to address if it is not pre-filled.
- Click Save.
Step 6: Complete the Purchase
- Click Place order.
- After payment is processed, Microsoft redirects you to the Codevision activation landing page.
- You will see an on-screen confirmation once activation succeeds. All CV Renew 365 features are now accessible.
6. Part 4 — CV Renew 365 Automate – Installation & Configuration Steps
- CV Renew 365 Automate enables notification features such as renewal reminders, warning notices, expiry alerts, and scheduled email notifications using Microsoft Power Automate.
Step 1: Install Power Automate Solution
- Go to Power Automate- https://make.powerautomate.com
- Sign in with your Microsoft account
- Select the correct Environment (same as SharePoint)
- Navigate to Solutions from the left menu
- Click on Open Marketplace
- Search For CV Renew 365 Automate or directly access from below link
- https://marketplace.microsoft.com/en-us/product/codevisiontechnologiesprivatelimited1613132641660.cvrenewautomate
- Click On Get It Now Button
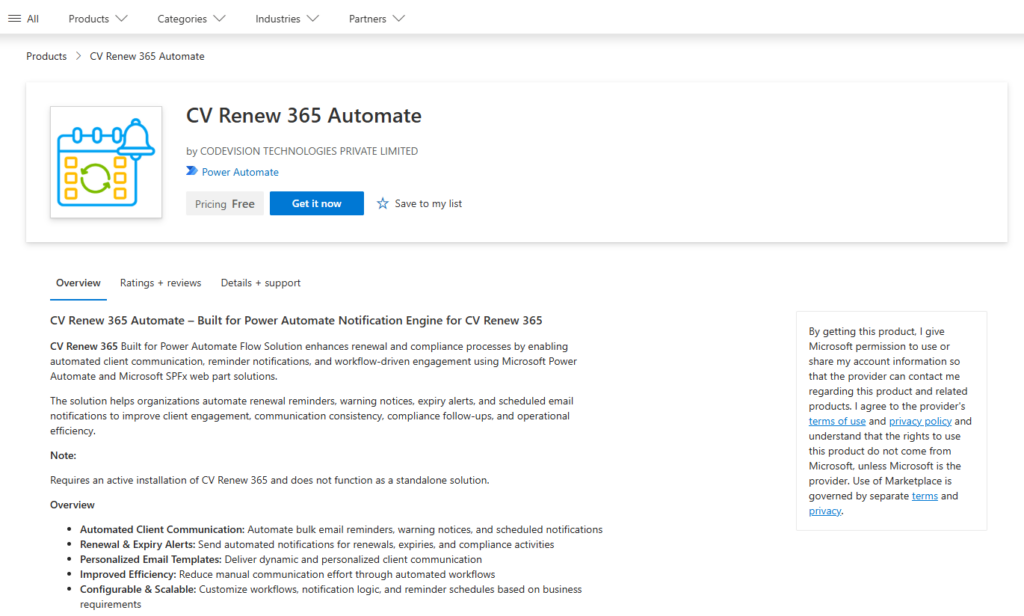
- Select an environment, check the box, and then click Install
Step 2: Set up Solution and Environment variable
- Open Power Automate or click on this link: https://make.powerautomate.com
- Select the same environment where you installed CV Renew 365 Automate
- In Left menu Select Solution
- Find CV Renew 365
- Click on Update Environment variable
- Configure required connections
- Sign in and authorize all connections
- Set up the environment variables by selecting the appropriate values from the dropdown, then click Save and Close
Step 3: Fix Connections References
- On the left-hand navigation pane, select Solutions
- Stay on the All tab. open Default Solution
- In the left panel of the Default Solution, click on Objects > Connection references.
- Look for the connection references that belong to the Marketplace provider’s solution (you can identify them by their display name or publisher prefix).
- choose valid connection & select Edit.
- In the panel that slides open on the right, look at the Connection dropdown menu.
- If you already have an existing active connection for that service (e.g., Dataverse, Outlook, SharePoint), select it.
- If you don’t have one, click + New connection. A new browser tab will open for you to sign in and authenticate the credentials. Once authenticated, return to the solution tab, hit Refresh next to the dropdown, and select your new connection.
- Save Changes: Click Save at the bottom of the pane.
- Set up the environment variables by selecting the appropriate values from the dropdown, then click Save and Close
Step 4: Enable Flows
- Go to Cloud Flows inside the solution
- Open each flow
- Click Turn On
- Ensure all flows are enabled successfully
- Flow will be triggered on daily basis as per scheduled time
- Test the Notification feature
- Your system is now fully configured to receive all alerts and notifications
7. Part 5 — Upgrade the CV Renew 365 SharePoint App
- Open the tenant or site-collection App Catalog where app installed
- Go to classic experience (skip this if already open classic experience)
- Search “CV Renew 365” & Select from grid
- Click on files from top header menu.
- Click Upgrade Store App options from App (If any upgrade version available it will enable)
- Wait for upgrading process.
- Once done deploy option will be visible. Review any pending additional API permission approval. (Refer step 2 from Part 1 — Deploy the CV Renew 365 SharePoint App )
- Click on deploy. It will redirect back to app catalog once process done
- Go to site page where webpart installed & check upgraded feature.
8. Support
- For technical assistance, feature requests, or questions about pricing and licensing, contact CodeVision Technologies Private Limited through one of the following channels:
- Email: support@thecodevision.com
- Web: https://thecodevision.com/
- Marketplace listing: search for “CV Helpdesk” on Microsoft Marketplace and use the Contact Publisher link.