+1 (408) 900-9133
CV Classified Installation Guide
Steps to Request CV Classified Installation (Non‑Admin Users)
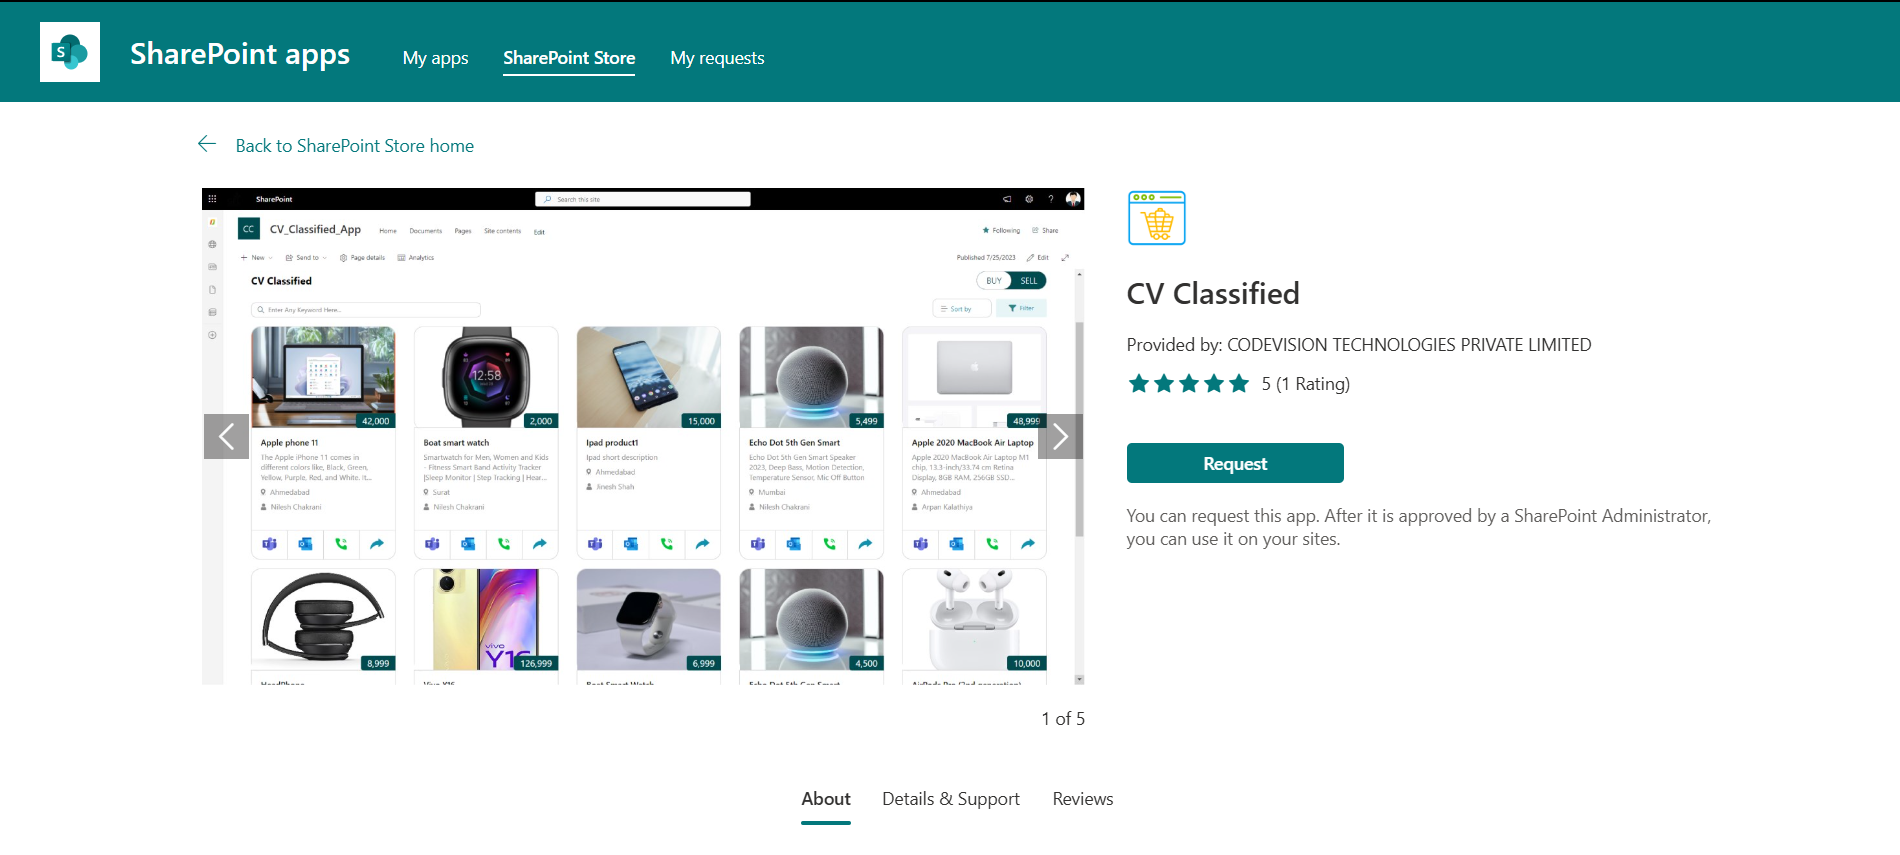
- If you are a non‑admin user, you will see a Request button, as shown in the screenshot.
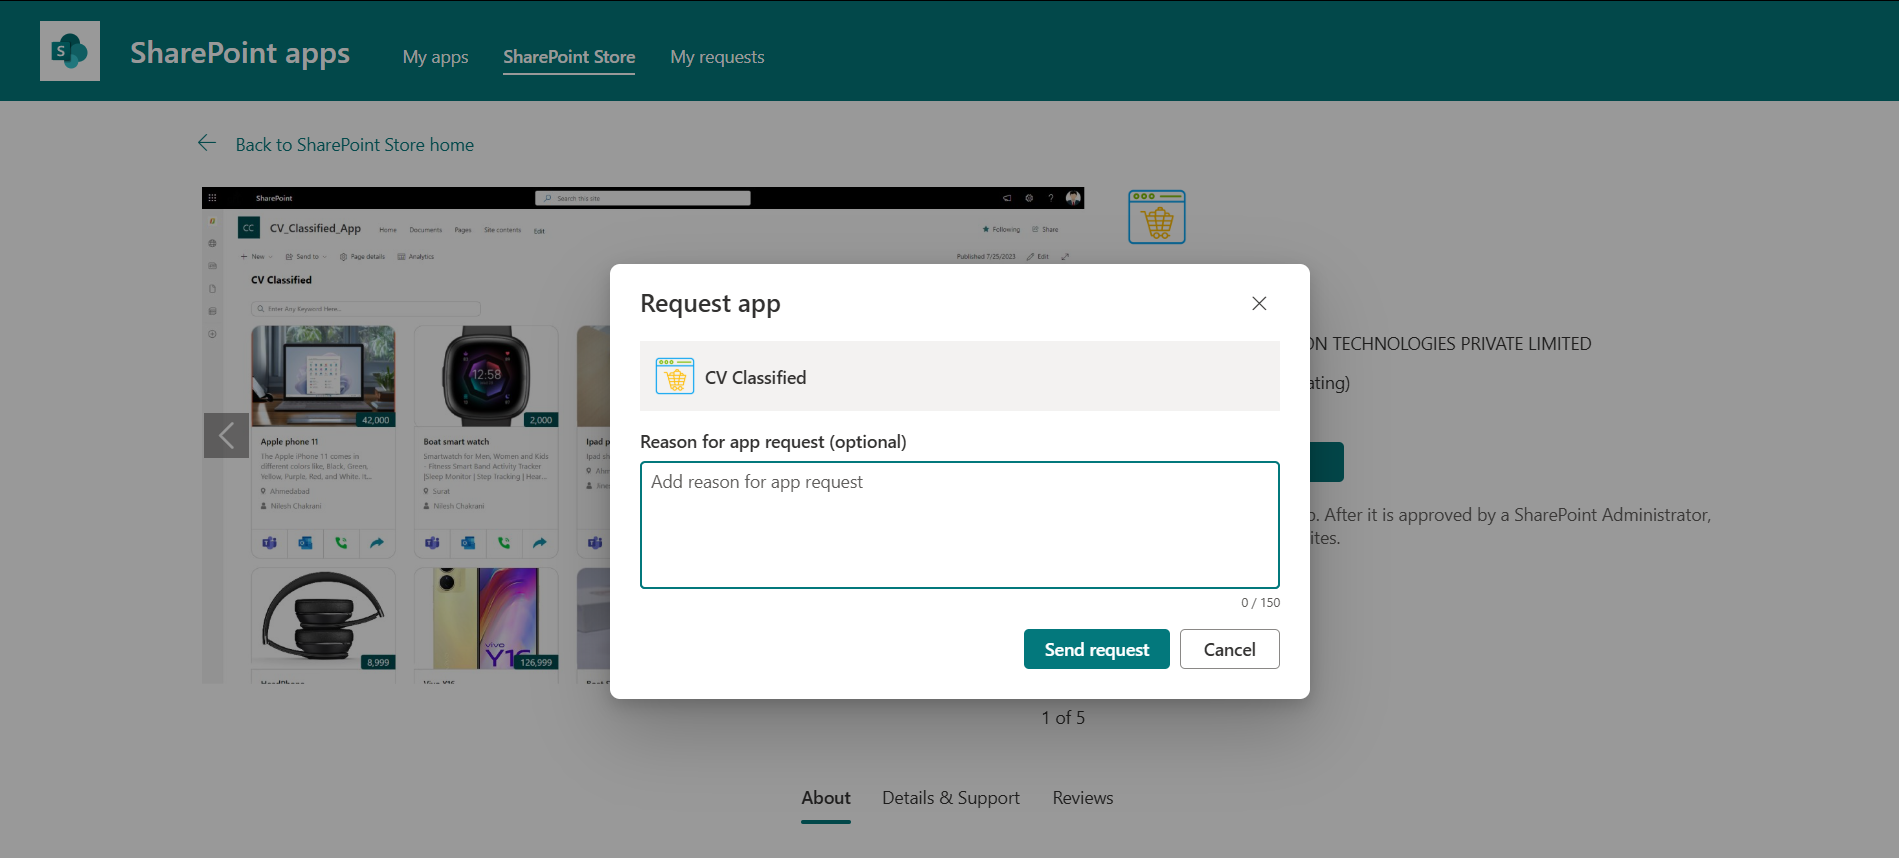
- Click Request. A pop‑up will appear where you can optionally enter a message in the Reason for app request field, then click Send request.
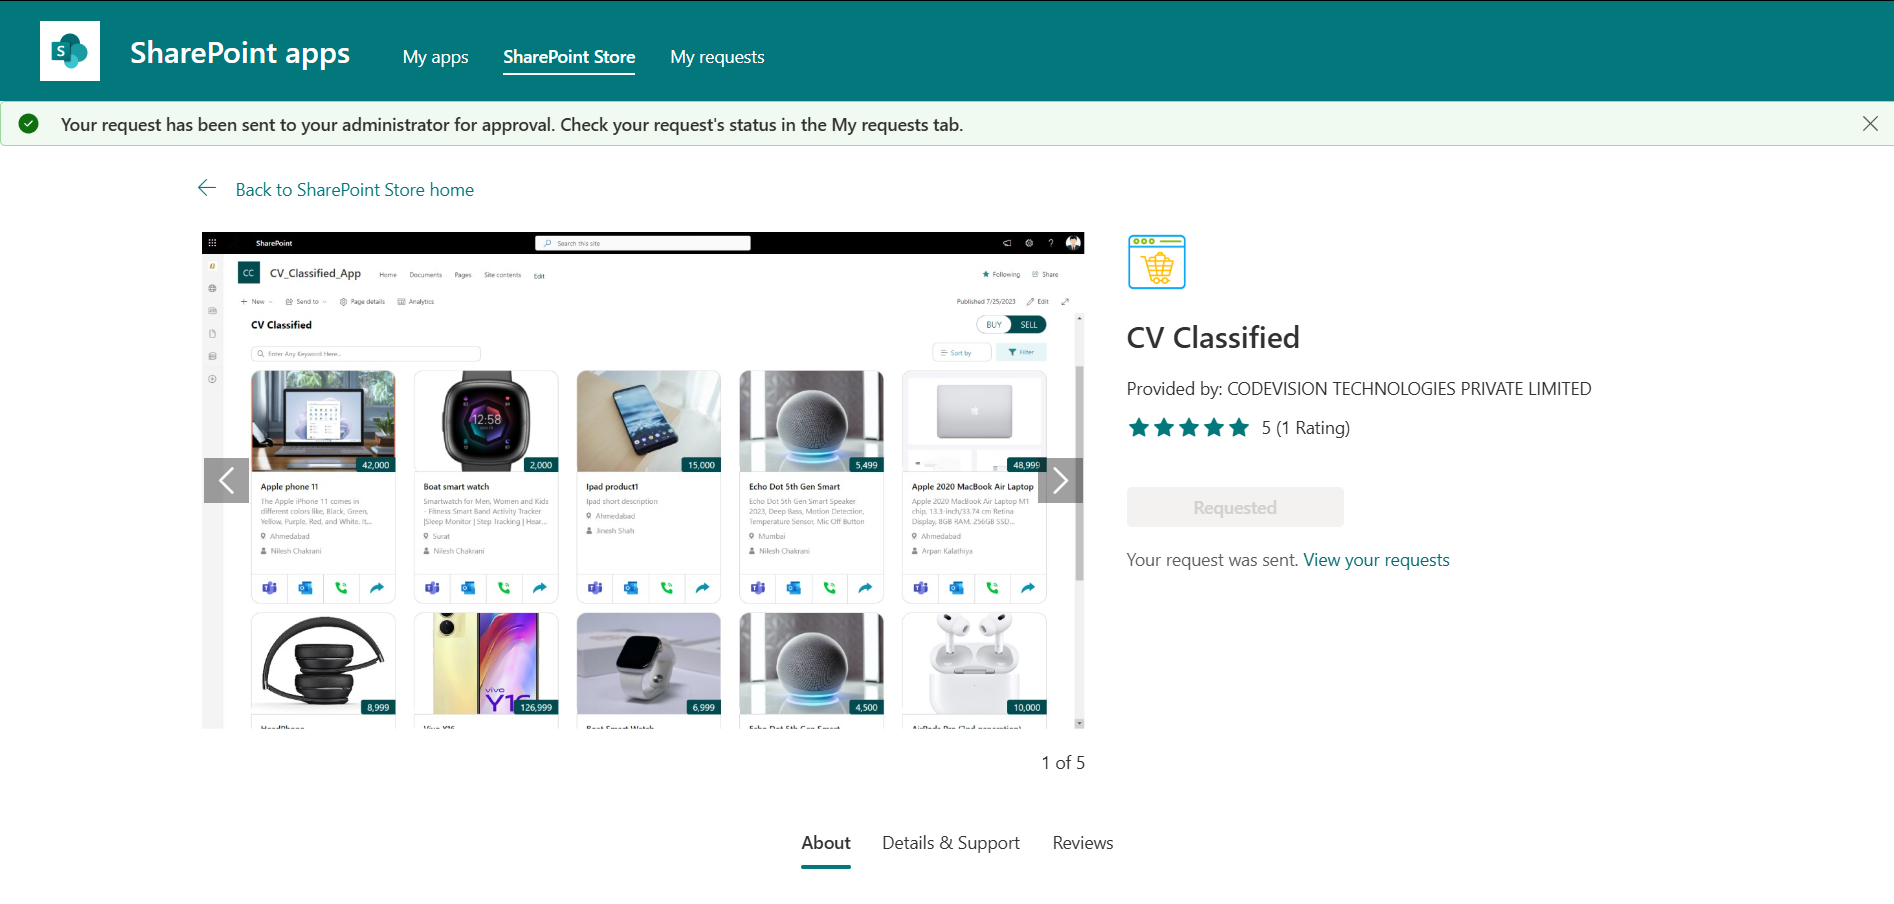
- After submitting the request, a confirmation message will appear at the top of the page. The SharePoint Administrator or Global Administrator will receive an email notification about the new app purchase approval request.
Steps to Request CV Classified Installation (Admin Users)
- When an administrator receives an email notification with the subject New Purchasing Approval App Request: CV Classified, it indicates that someone in the organization has requested to install the CV Classified application.
- In the email, click the provided link. This will redirect you to the Pending requests section in the SharePoint admin portal.
- In the Pending requests section, locate the CV Classified request in the list of applications submitted by non‑admin users. Click the CV Classified entry to view the full application details in the side panel.
- At the bottom of the side panel, click Approve and add this app. After approval, follow the same steps described in Steps to Deploy the CV Classified SharePoint Web Part (Admin Users) to complete the installation and deployment.
How to Grant API Access Using Global Admin Rights
Follow the steps below to approve required API permissions in Microsoft 365:
-
Open SharePoint Admin Center
Go to: https://yourtenant-admin.sharepoint.com/ -
Navigate to API Access
From the left navigation panel, select Advanced → API access. -
Search for Required API Permissions
In the list of pending permission requests, look for the following:-
Mail.Send
-
User.Read
-
-
Approve API Permissions
If these permissions appear under Pending requests, select each one and click Approve.
Steps to Deploy the CV Classified SharePoint Web Part
Note: The following steps must be performed by a SharePoint Admin or Global Admin.
Before You Begin – App Availability Selection.
When downloading the CV Classified app, you will be prompted with an App Availability option. You can choose either:
A. Only enable this app
B. Enable this app and add it to all sites.
Based on the option you select, follow the installation steps below.
A. Only enable this app
- Go to the SharePoint site where you want to deploy the CV Classified Web Part.
- Click the Settings icon in the top-right corner of the header, then select Site contents.
- On the Site contents page, click the New button . A list of options will expand.
- Select App. You will be redirected to the App Store where you can view all installed SharePoint apps.
- Locate the CV Classified app and click Add.
- Once added, confirm that the app appears in Site contents.
- Again, click the New button from the top ribbon and expand the menu.
- Select Page to create a new site page.
- On the new page, add a Full-Width Section. You will then see the CV Classified app in the available options.
- Click the CV Classified app, and after a few minutes, the application will be ready for use.
B. Enable this app and add it to all sites.
- During app installation, if you select “Enable this app and add it to all sites“, follow steps 1, 2, and 7 to 10 from the instructions above.
Note: If you are using a previous version of CV Classified, please be aware that CV Classified Pro uses a new schema structure. To continue using your old classifieds in the new version, you will need to migrate your existing data to the updated schema.